
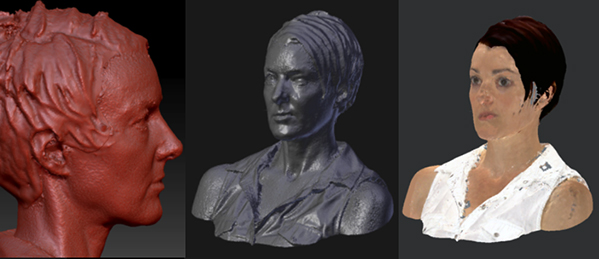
We tried a couple of different scanners for the head scan to make the 3D model of my face and neck. Shadow and dark hair is hard to scan and the top photo shows how the technician passes the scanner with a bright light under my chin to scan the shadowy area. Many people with black hair dust their hair with a white talcum powder to make it easier for the scanner to ‘see’. The fine strands of hair are also hard to capture – this is like the early days of green screen technology in video with hair looking fuzzy. My solution was to work with that constraint and so I hair gelled my hair to give it more shape and definition which was easier for the scanner to pick up. I kind of like the Max Headroom look!
We used two hand-held 3D scanners, first the Go!SCAN scanner which captured high detail and facial geometry data. As a single scan covers a limited surface area, moving the scanner to make multiple scans is necessary to create a complete a facial model that is accurate and detailed. We had captured the rough shape of the heavily gelled hair, but the Go!SCAN’s high resolution struggled to identify the detail of the hair structure so we switched to another scanner. The Sense scanner by Cubify scans at lower definition but suited our purpose – to capture the hair as a larger solid shape.
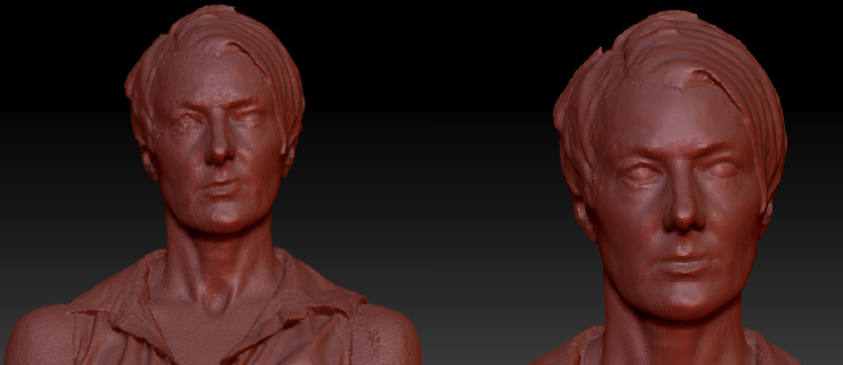
The result is this model. Some parts of the left hand side image, such as the mouth, look distorted. We think that this is because it is difficult for a person to keep perfectly still during the multiple passes of the handheld scanner and Jane smiled part way through. Every subtle movement leads to displacement and distortion in the final results. The image on the right shows the model after the distortions were fixed, fairly quickly, by Ivan using ZBrush sculpting tools and photo references. Finally, the model was completely remeshed to redistribute vertices evenly and to reduce the vertices count and close holes, making the model 3D-printing friendly.